# Drawing Pane and Edit Dialogs
The TISGraph drawing pane is the GUI element which displays the currently opened document. As is elaborated in Pages and Layers, all drawn objects (e.g. graphs, text, tables, ...) are assigned to a layer. The currently active layer is shown in the navigation bar, where it can also be changed. The sum of all graphical objects of a document is called the document's "scenery".
# Coordinate System
Coordinates on the drawing pane are, with very few exceptions, measured in print millimetres, i. e. millimetres on this document's printed PDF. One such exception to this are font sizes.
The size of a document's drawing pane is already configured when creating it and can be changed retroactively(see document internal properties).
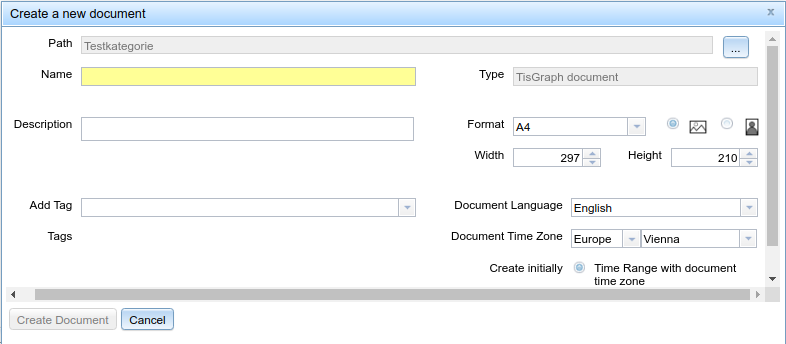
When defining the size, you can either explicitly provide it (in millimetres) or choose one of the pre-defined paper formats. In the latter case, you can also choose between portrait or landscape mode.
# Changing the Visible Portion of the Drawing Pane
The currently active zoom level can be changed by either of these methods:
- The navigation bar
- The mouse wheel
- The default browser hotkey combinations for zooming in or out (e.g. CTRL +; CTRL -)
Moving the currently visible viewport of the drawing pane can be done by either of these methods:
- The Pan Tool(pan tool) found near the top of the tool bar. While the tool is active, you can move the viewport by simply holding left mouse click and dragging it that way.
- Pressing and holding the middle mouse button while moving on the pane
- auch ohne Verwendung des Pan-Werkzeugs durch Ziehen der Maus bei gedrückter mittlerer Maustaste
WARNING
Not all browsers or OS support this functionality due to technical limitations.
The selection tool(selection tool) in the tool bar can be used to select, move and/or change the proportions of graphical options in the drawing pane. Also, while it is selected, double clicking the objects will open the object's edit dialog. Additionally, a tool exists to change single object points. See editing tools for more information.
# Changing the Scenery
# Editing Dialogs
For each tool in the tool bar exists an edit dialog. For instance, the following screenshot shows the edit dialog of an arrow object:
![]()
Edit dialogs in TISGraph are modal by default, i.e. other work can be performed while they are opened.
Changes can be confirmed either by clicking "OK" or "Apply". the difference is that the former closes the dialog after applying changes, while the latter does not. If you have used the "Apply" button multiple times before closing, you can go back to previous iterations using the arrow buttons on the bottom right of the dialog.
The two buttons for accepting changed are active only if at least one change has already been performed in the dialog since the last save. That way, it's easy to tell if any changes have already been made.
The two use cases creating a new graphical object and editing a graphical object use essentially the same dialog as shown in the depiction above.
# Positioning Dialogs
Most graphical objects also have a positioning dialog in addition to the edit dialog. This can be helpful for aligning the contents of a document more granularly. It is found below the "Edit" option in the context menu of applicable objects:
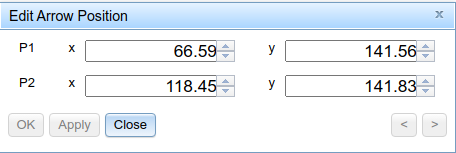
In this example, the positioning dialog for an arrow is shown. In this case, no change has yet been made since the last save, so "OK" and "Apply" are both still inactive.
# Undo and Redo
All changes to a scenery (i.e. the entirety of all graphical elements in a document) can be undone or re-applied by using the Undo and Redo menu options respectively:
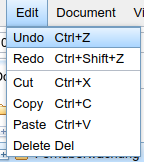
Actions that can be undone/redone include both changes made with tools in the drawing pane and those made via edit dialogs (each "Save" is considered one action). As already shown in the menu, there are also hotkeys(e.g. CTRL Z) for most OS and browsers to do this more quickly.
# Groups
You can combine any amount of graphical objects to a group, regardless of the type of each graphical object. These objects are then considered as one unit when moving, copying or pasting them. Groups can be dissolved at any time.

← Document Tree Tools →